Rebuilding Scotty Siding
Last
Updated: 06/29/2005
This
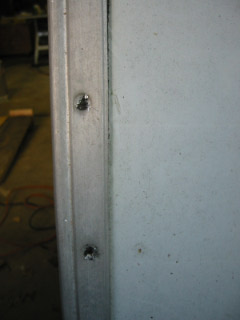
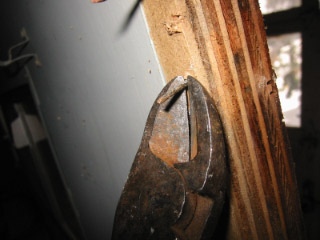
is the metal edge strip. A small screwdriver with the
blade sharpened to achisel edge (as
was suggested on Nancy
Kroes' site) and a
rubber mallet was used to drive the
point under the nail head. The screw driver is then
twisted to hopefully pry up
the head of the nail. However, this maneuver ended
up snapping off the
head of the nail about 90% of the time. But all was
notlost, I was able
to pull out the rest of the nail using a vise-grip.
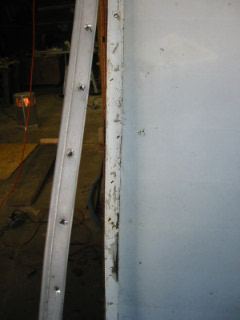
Lifting off the
metal edge strip after all the nails were removed.
This
is what is left when the nail head snaps off.
A vise-grip can be used to pull the rest of the nail
out.
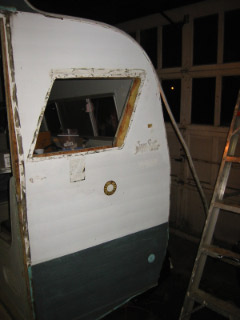
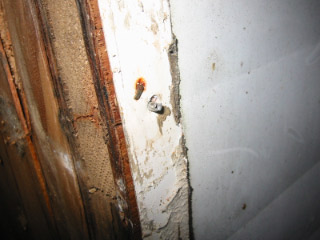
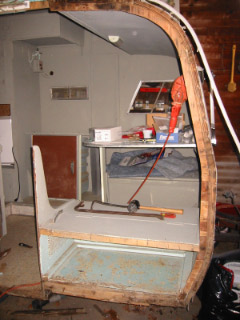
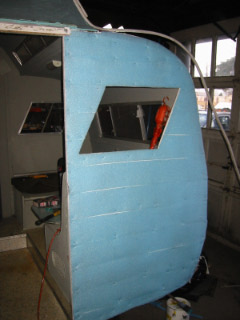
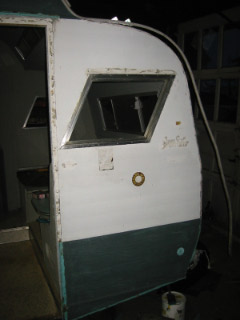
Removed the
Window Frame and Metal Door Frame from the
camper. Removed inside
window trim and Scotty Logo nameplate.Then started
prying off the sheet metal skin.
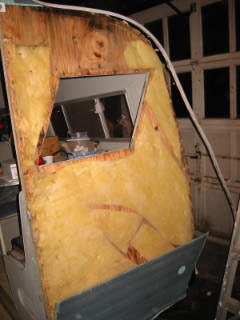
The sheet metal came off in three pieces. Then removed
1/4" thick fiberglass insulation.
It looked like it was just scrap pieces they had laying
around the factory.
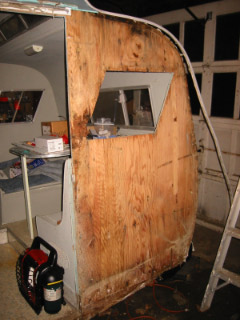
Then
started prying off the 1/2" thick
plywood.The Mr. Heater is
in the picture also, just testing it out to see who it
works.
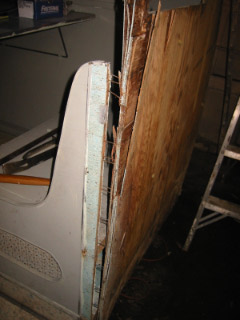
More
prying of plywood away from side of camper. As you
can see,the plywood is
very de-laminated from leaks in the
roof.Also
MANY MANY Staples!!!

he
entire Scotty with the windows and door removed to start
removing the plywood.
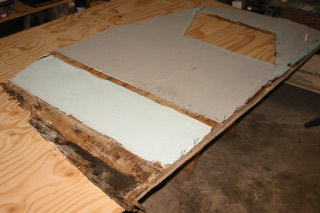
A
pencil compass was used to draw a line all the way around
the perimeter of theplywood exactly 1
1/4" in from the edge of the plywood. The plywood was
thencut on that line
with a jig saw. The piece is then removed and will be
the template for the new
plywood. I'll just place the removed piece on top a
new sheet of plywood and measure out from
it the same amount all around the outside edge and cut to
fit.
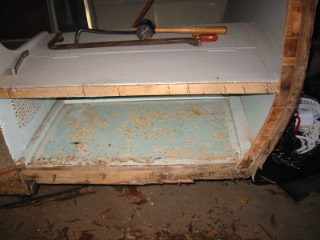
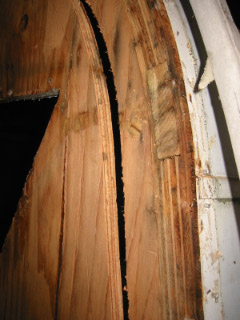
I
expected a lot of rot, but did not really find much, just a
lot of de-laminated plywood.Which I removed
and replaced with new plywood.
Removing the 1
1/4" piece of plywood around the edge. It has small
staples holding a rubber
edge strip to the edge of the plywood. There are
1/4"x1/2" 18gauge staples holding
the 1/4" ceiling plywood to the edge of the side
plywood. And to top that off,
there are nails, which hold the 1"x3" pine board to the
plywood. Lots of nails,
staples and fasteners to be removed!
For
the nails that could not be removed easily, with out
damaging the plywood, I found I could remove
most of the staples by cutting them off with diag-cutter,
andjust leave them
in the edge, not going to hurt anything.
Then
the old rotted plywood was put back together and used as a
template to cut thenew replacement
panel. Then a line was drawn around the outside edge
exactly 1 1/4", sothat it would fit
the opening. Some people use the metal sheeting as a
template.
The
rubber bead-edge was cleaned up and most of the old paint
removedfrom it.
Then it was stapled back on the edge of the plywood.
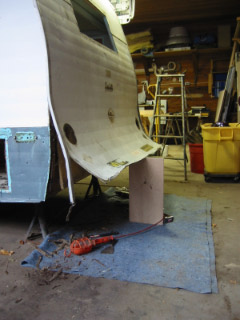
The
whole thing was then put back on the side of the camper
with the help of a
floor jack to persuade it into place.
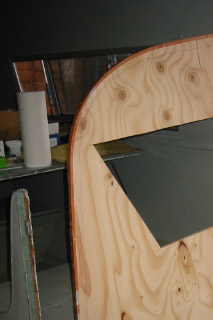
Painted the
plywood outside.
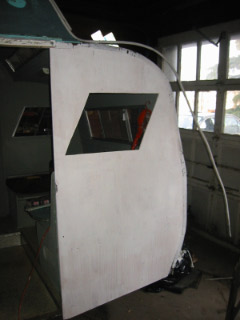
Also
painted the plywood inside the trailer.It was a warm
day, garage door is open, that's about 2 feet
of snow on the
ground you see out there.
Stapled 1/4" flat
Styrofoam type insulation in place
Then
stapled the aluminum skin back on again.
Used
5/8" 18gage zinc coated brads using pneumatic
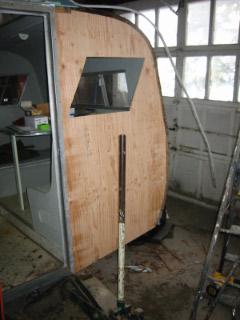
nail-gunThe half-rebuilt
window was placed back in the opening just to see how it
looked.
Not
as big a problem as the front, but this back end had some
rotted woodwhich was easily
repaired with a new 1x4 piece of pine. The
plywoodwas in good shape
but was loose because the steel staples had rusted apart,
soit just needed to
be screwed back down with new zinc coated wood
screws.And the aluminum
skin needed refastening with stainless steel screws.